Static IPs
When RADNAC deploys by default it provisions static Public IPs that allow you to use the service straight out the box.
An issue arises when upgrading RADNAC as the process requires migrating to a new deployment and shutting down the old one. This process assigns a new set of public IPs to the new deployment which would then require you to reconfigure any on-premise equipment to use these new IPs.
Reconfiguring lots of on-premise equipment, especially if across multiple sites, may be complex and time consuming so it can be beneficial instead to move the public IPs from the old deployment to the new one. This howto describes that process.
| If you only have one or a few items of on-premise equipment to re-configuring, or you prefer a ‘Canary Deployment’ strategy where each device is migrated one by one to reduce risk, then you can skip this entire howto and instead migrate your equipment to fresh public IPs during upgrades. |
Preflight (Checklist)
-
A working installation of RADNAC
-
Follow the Quickstart: Getting started with RADNAC if you do not
-
-
Your own static IPs in your own resource group that you manage
-
If you have none, create a resource group to store them in, then follow Azure’s documentation for creating a public IP address, the public IPs you create have the following requirements:
-
Location matching your deployment
-
SKU set to ‘Standard’
-
Tier set to ‘Regional’
-
IP address assignment set to ‘Static’
-
Availability zone set to ‘Zonal’ (all zones)
If you are unsure what to do, create a pair of public IP version 4 and version 6 addresses for each virtual machine resource you have with the above requirements.
-
The default 99.9% SLA deployments have a single virtual machine, higher SLAs use two.
-
-
Steps
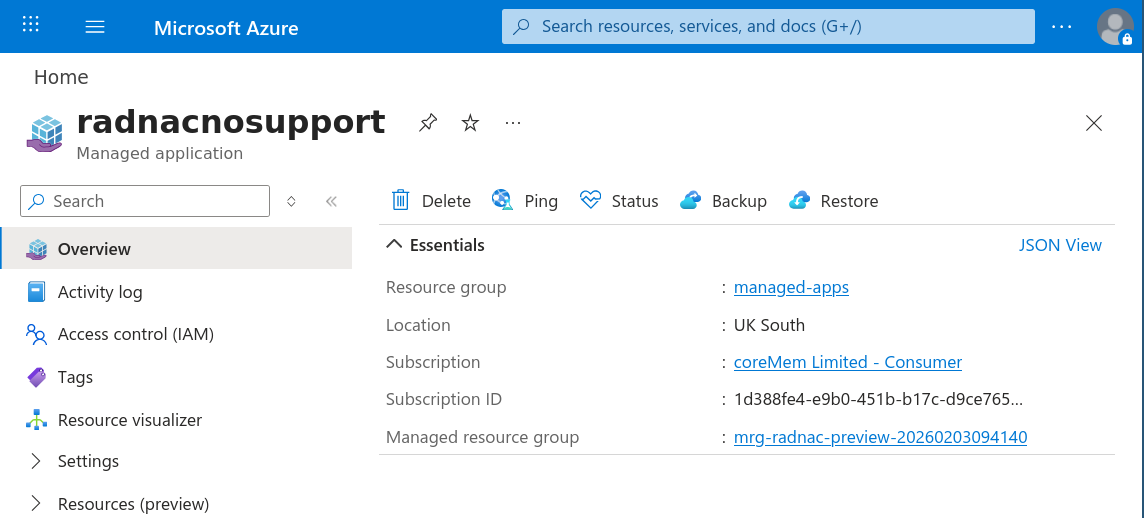
From the managed application page, in the ‘Essentials’ top bar at the top you will find a link to ‘Managed resource group’.
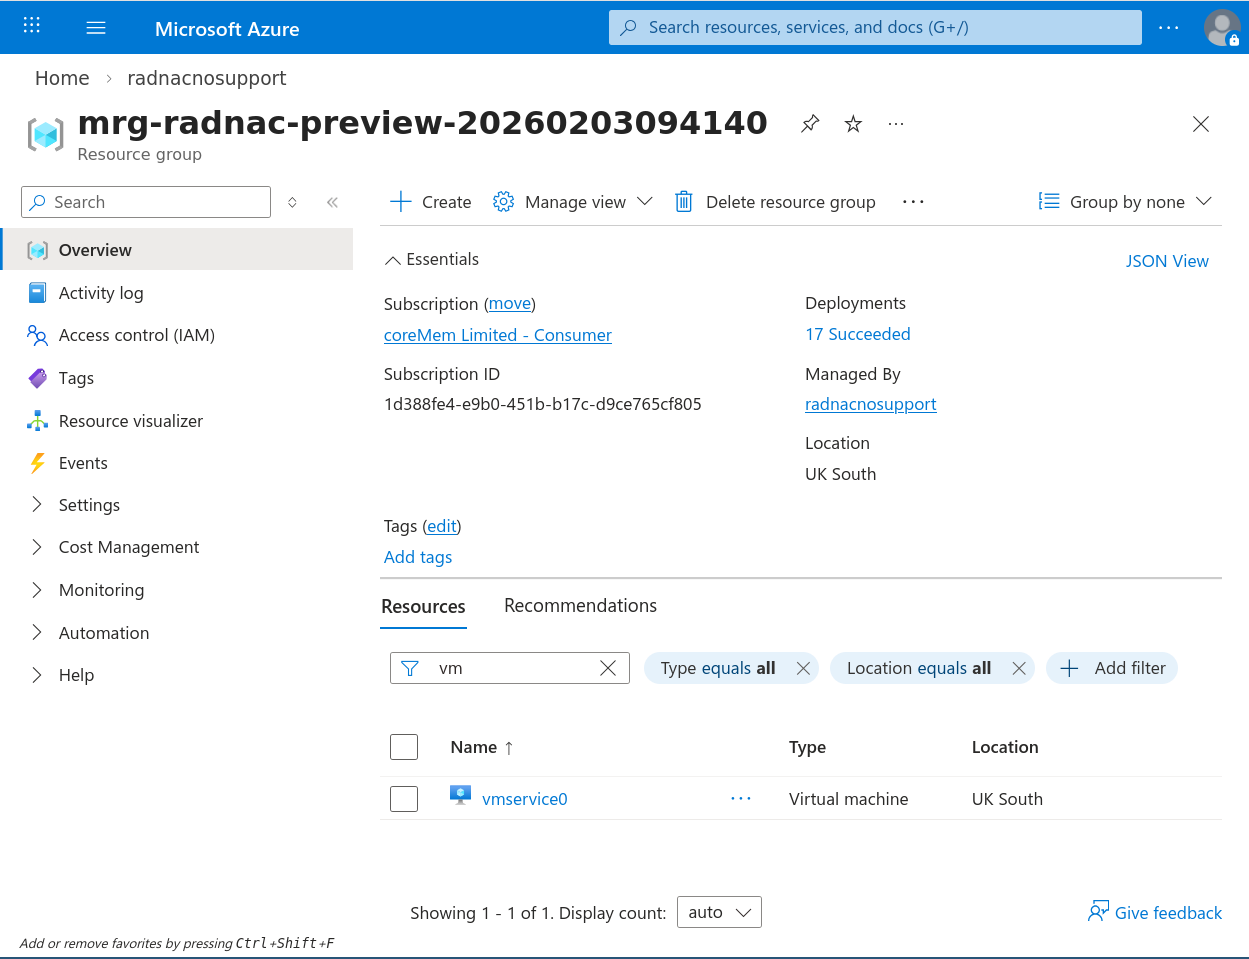
Following this will take you to a list of all the Azure components (called ‘resources’) and from here you should filter the list with ‘vm’ which will list the virtual machine resource(s) named ‘vmservice0’ (and ‘vmservice1’ if you used the higher SLA install).
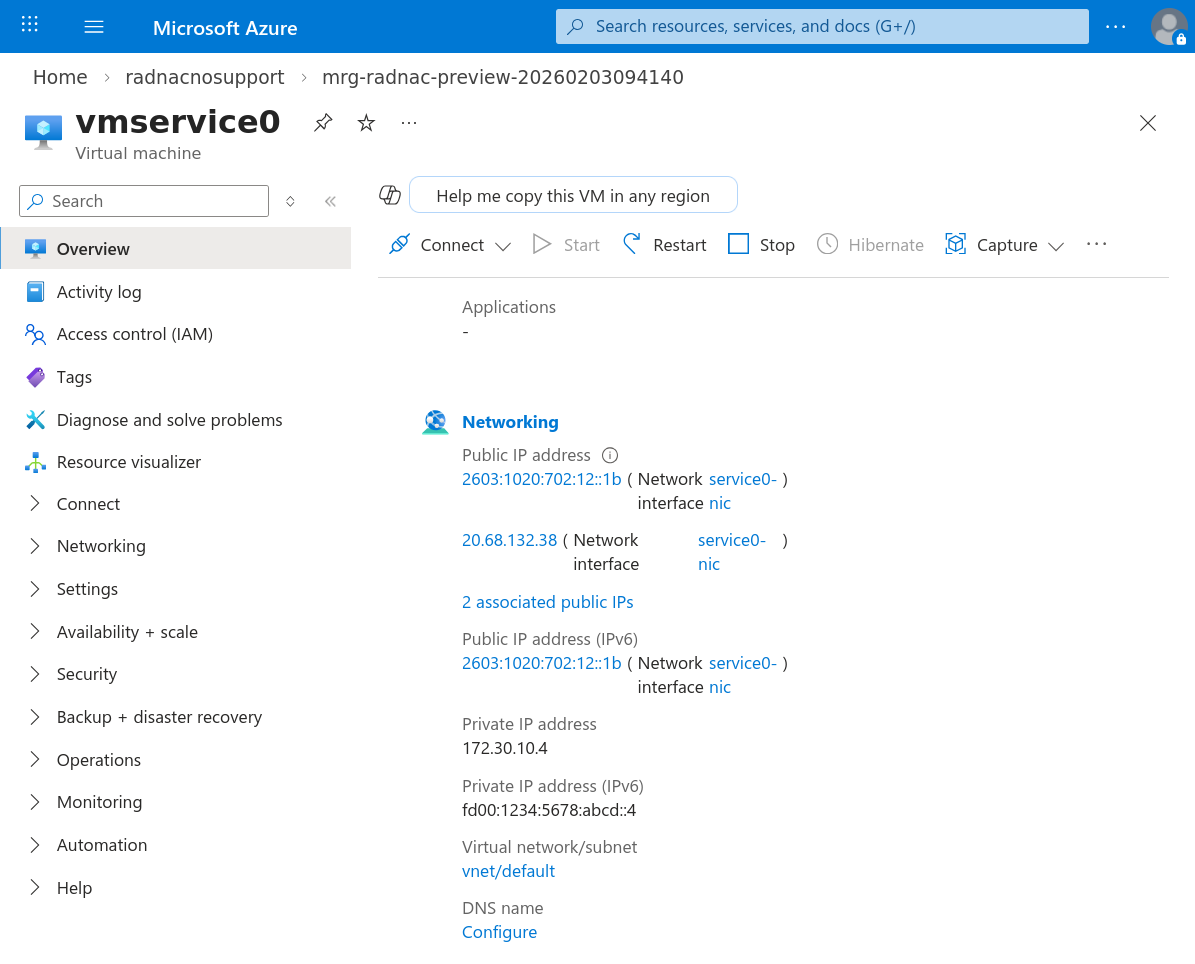
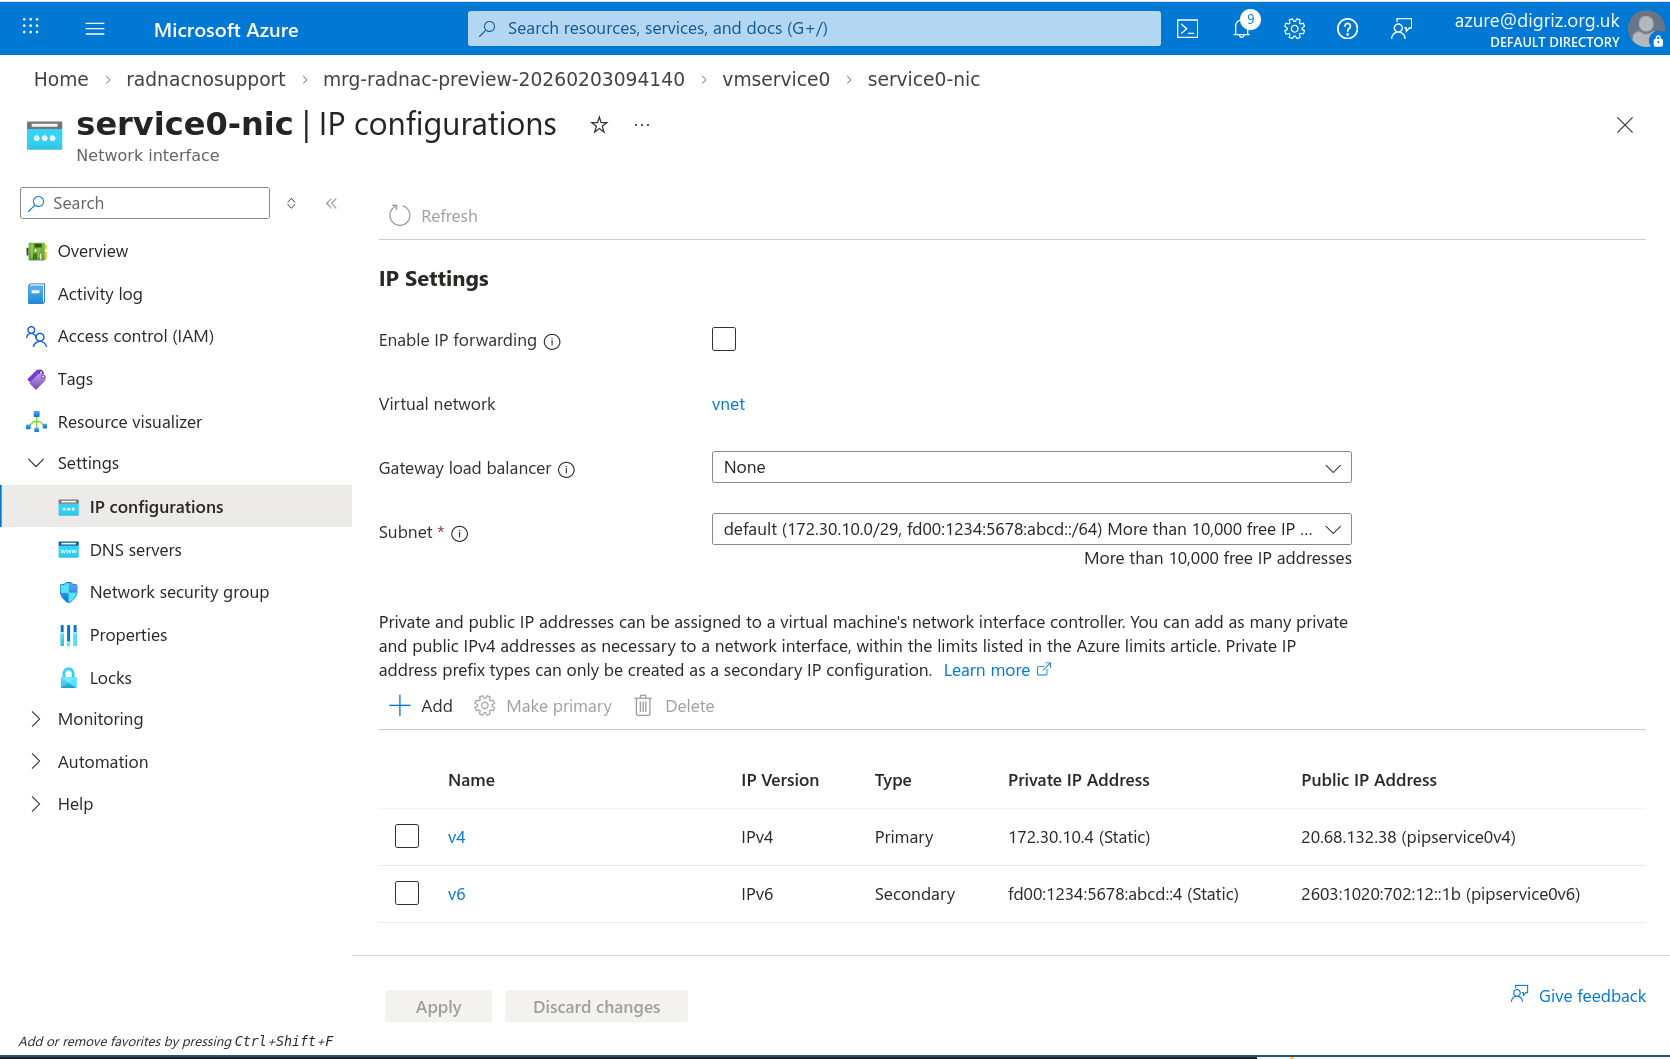
Click on ‘vmservice0` and look under the '`Networking’ section in the main overview of the virtual machine for a link to ‘Network Interface’ (called ‘nicservice0’), and click on it:
From the NIC configuration page, navigate the sidebar menu through the menu :
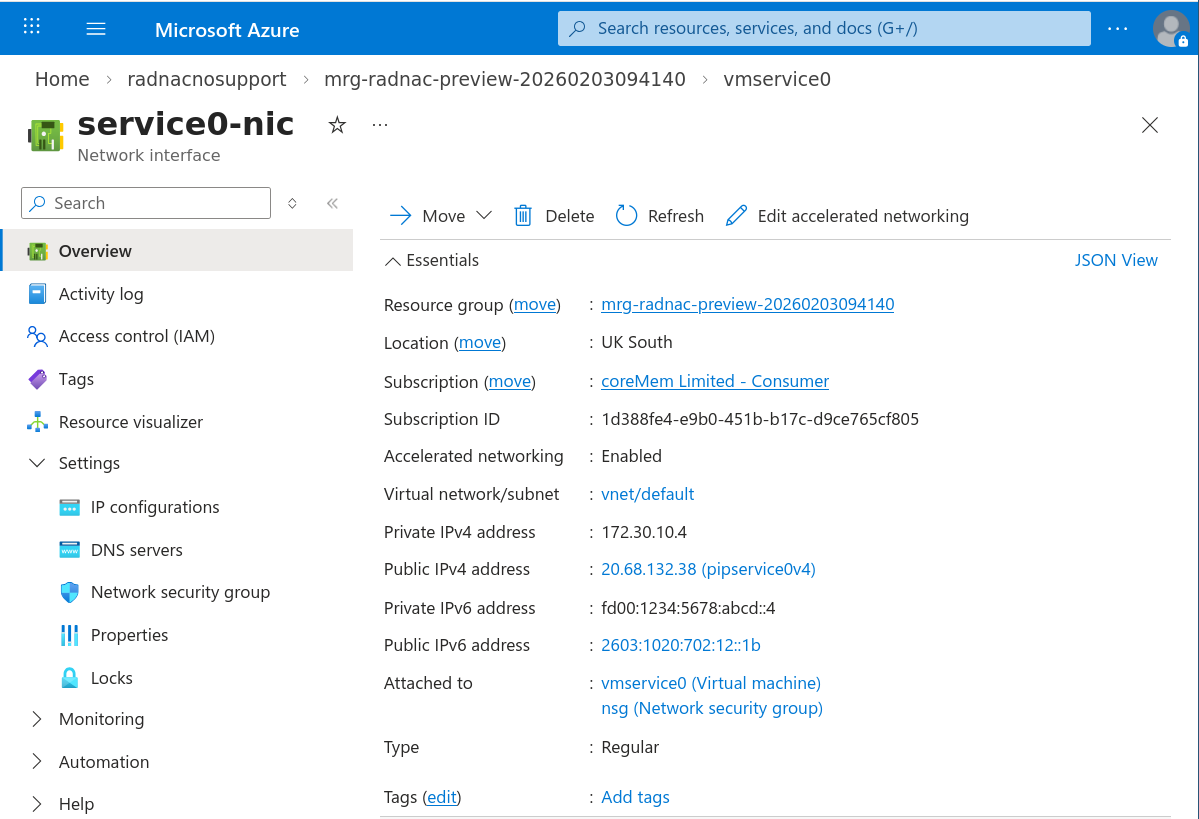
Click on the (small) blue link labeled ‘v4’ to edit it which opens a panel:
Under ‘Public IP address settings’ a drop down will let you select you new public IP address, which after doing click on the Save button at the bottom.
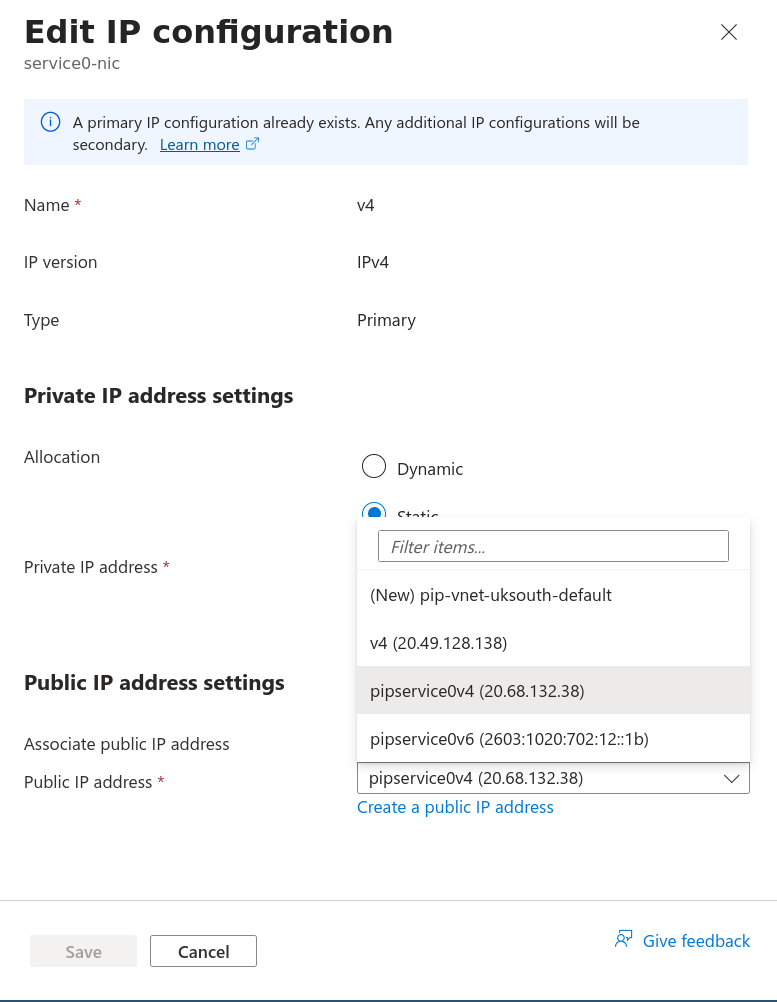
Now repeat this process for the IPv6 public IP address if you have one.
If you have a second virtual machine instance (named ‘vmservice1’) you should repeat the whole process there too.
Once completed, reconfigure your on-premise RADIUS wireless and network equipment to use the new public IP addresses.
|
To avoid downtime, when you have two virtual machine instances, use the process:
Alternatively if you only have a single virtual machine but your on-premise equipment supports uses both IPv4 and IPv6 public IP addresses, you can treat each IP version as if it is a separate RADIUS server for the purpose of this process. |
Cleanup
Now you have migrated, to avoid incurring unnecessary costs (currently $4/month per public IPv4 address), you should delete the old IP addresses.
This is done by returning to the Managed Resource Group (click at the top of the managed application page in the ‘Essentials’ top bar) and searching for public IP address, filter the list using ‘pip’:
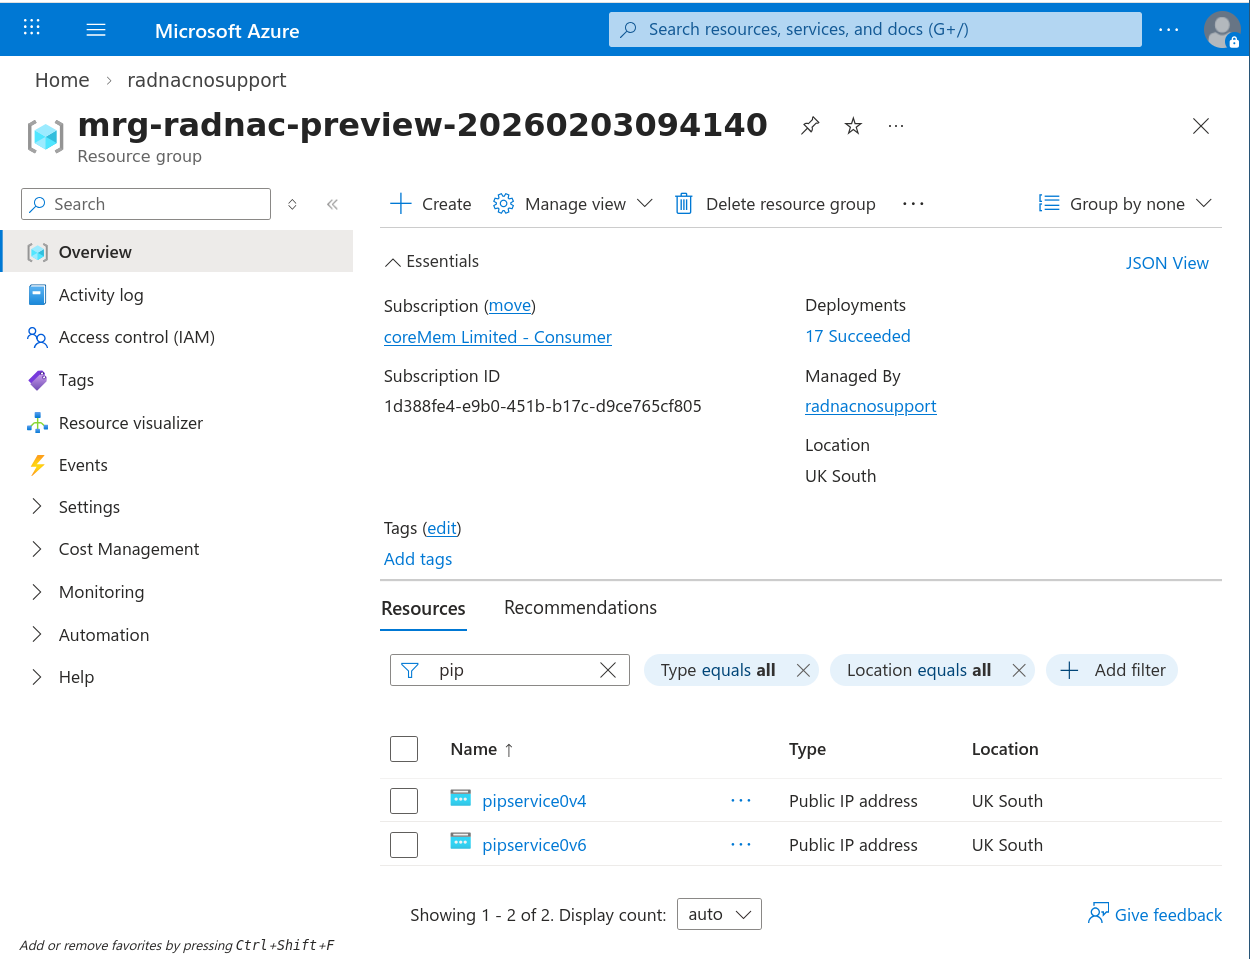
Then select one (or all) and click on the Delete button in the toolbar at the top, repeating the process for each of the listed IPs.
